This story originally appeared on Pela and was produced and distributed in partnership with Stacker Studio.
How to prepare your garden for next season
The onset of the COVID-19 pandemic had many unexpected social benefits, among them making workplaces more flexible, increasing support for local businesses, and an increased interest in at-home hobbies, including gardening. At the start of the pandemic in March 2020, it was estimated that millions of people began seeking advice on how to plant vegetables, flowers, and other seeds at home. In fact, sales for seed distributors blossomed to as much as 20 times the average. Ultimately, gardening was listed as the second most popular lockdown activity, with respondents finding gardening beneficial for their mental health, offering a sense of stability, simplicity, and stress relief during the turbulence of a global pandemic. Many others appreciated gardening not only as an excuse to go outdoors but also because it encourages creating a self-dependent food source amid ravaged grocery store supplies.
There is a well-worn list of basic components that make up a productive garden that will see thriving harvests, including soil preparation and testing, composting, seed distribution, and selecting a site that will receive an appropriate balance of sunlight and rainwater.
Although gardening is most closely associated with the sunny weather and colorful blooms of spring, this process is actually heavily influenced by actions gardeners take during the winter months. The coldest periods of the year are a crucial time for preparing and laying the foundation for a garden that will be productive in a few months. Seed selection and germination, for example, can take weeks and is best sorted well before it’s time to plant.
With the cold season already here for some of us, or fast approaching across much of the U.S., Pela compiled a list of fall and early winter tasks that will get your garden ready for the spring. Read on to find out what you can do now to ensure a healthy harvest come spring.
Order seeds early
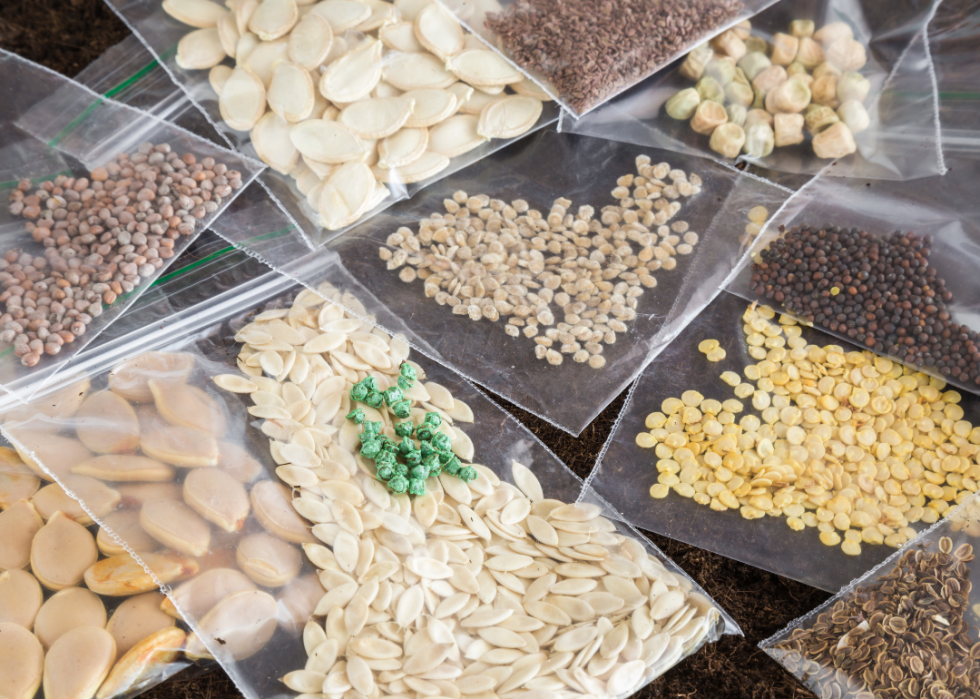
Although spring’s blooms might seem far off during early winter, that period is actually the best for ordering seeds. January is the busiest month for seed distributors, so buying seeds early allows gardeners to budget proper time for germination. This is especially true for those seeds that require plenty of light or other conditions unique to that plant. The earlier a gardener orders seeds and begins planning for spring, the more successful the growing season.
Get your soil tested
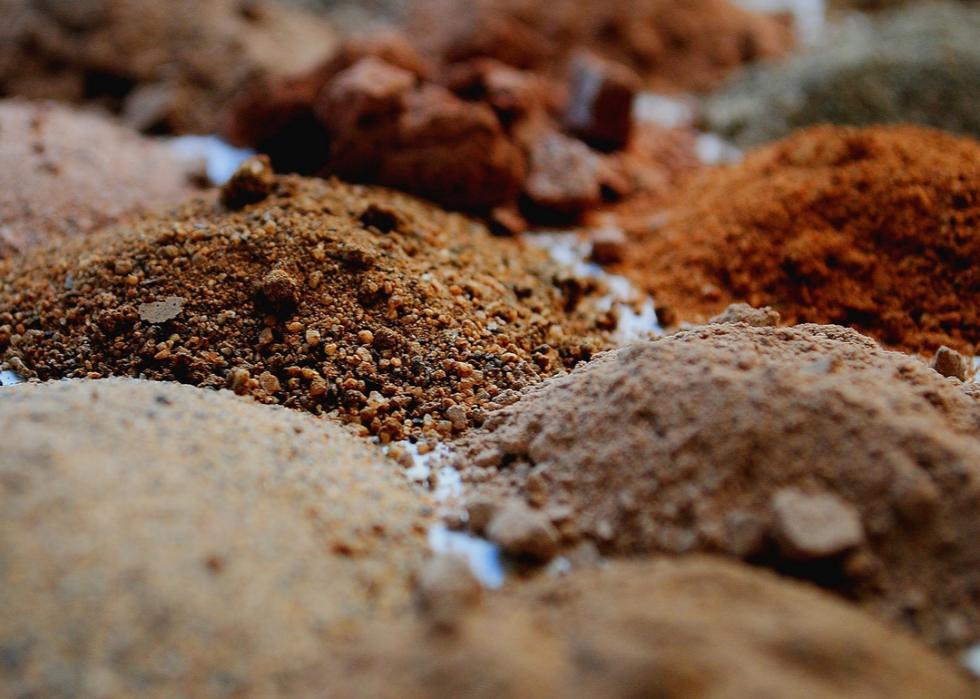
Soil testing is considered an ultrasound of sorts on one’s garden, which can help provide insights about the unique properties of that soil and, by doing so, what sorts of conditions should be expected when it’s time for this year’s garden to take root. Perhaps most telling is the read of the soil’s pH value, which reveals the acidity of the soil and which plants will and won’t thrive in it. Other measurements, like that of earthworm presence, drainage, structure, and organic matter, can indicate the fertility, nutrients, and aeration potential of soil. Although one can take their soil sample to a local extension office or mail it to a lab for testing, at-home testing kits can also save time and money. These precautions ensure less time and effort is spent planting seeds that will not flourish come spring.
Spread a leaf mulch
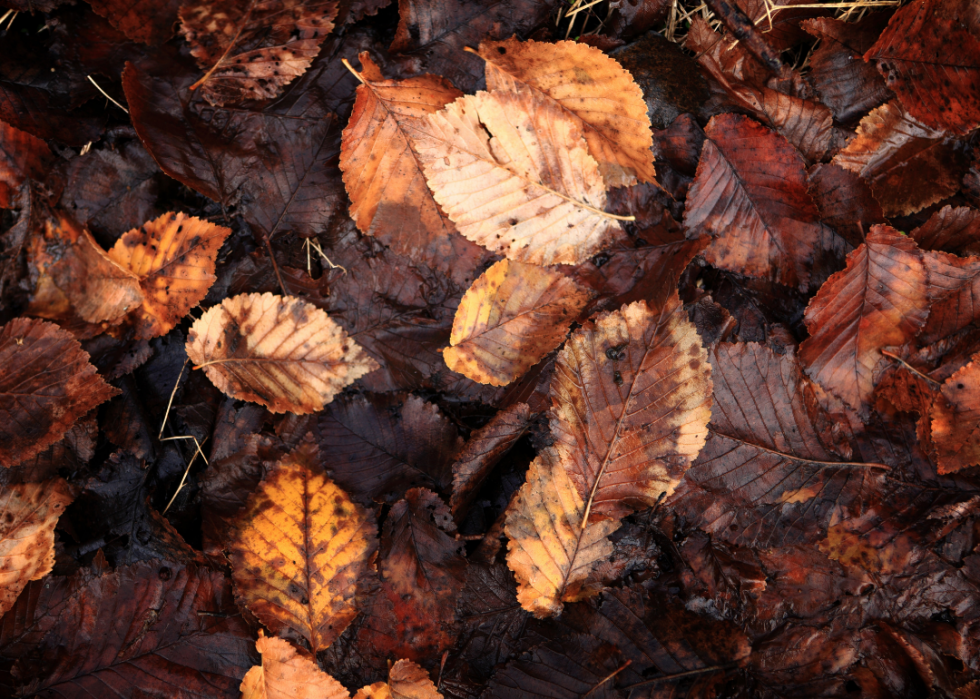
Leaf mulch can be easily made and can help boost the moisture retention, temperature control, and pH balance of the soil. After several years, this can even produce more nutrient-rich and nourishing soil, giving way to healthier plants. When gathering leaves to make a leaf mulch, keep in mind the type of leaves you use. Small, papery types such as birch will break down faster than others, but tough materials like evergreen will not break down on their own, and therefore should be avoided. A gardener should make sure to build a leaf mulch in a site that receives adequate—but not excessive—sunlight, as well as rainfall. Piling a collection of leaves at least six feet wide and five feet high will ensure the mulch is ready within 12-24 months.
Get your bulbs in the ground
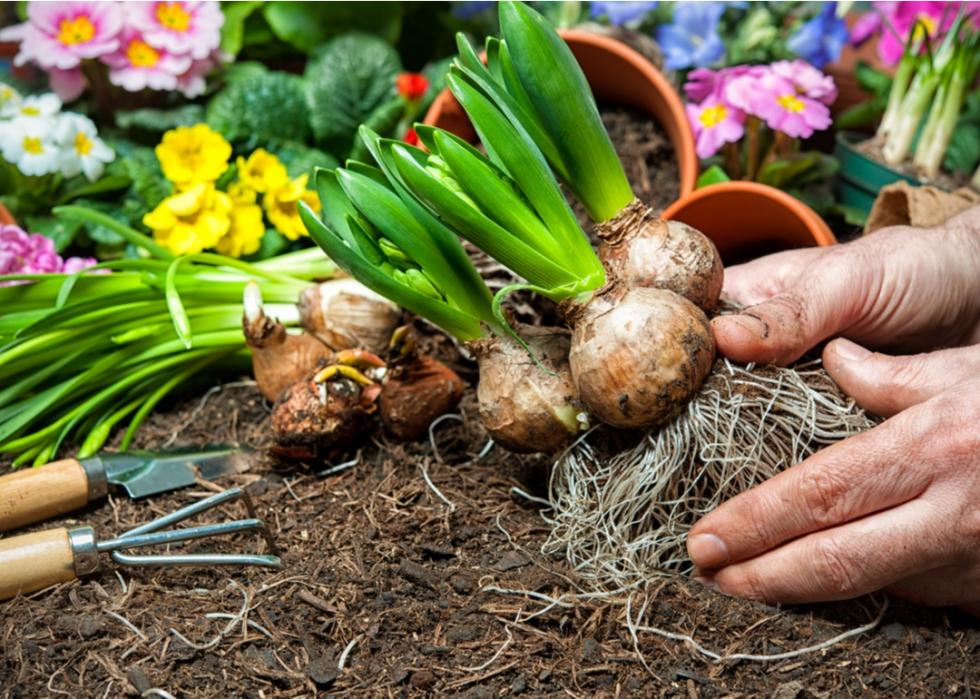
Of course, putting your plants in the ground and setting them up to grow is perhaps the most important step in creating a successful garden. It’s important to be mindful of the timing and technique used to do so to ensure bulbs are given the maximum potential to grow. Warmer climates can welcome bulbs planted earlier in the year, depending on the type of plant. Spring-blooming bulbs, for instance, should be planted in September or October. When placing bulbs in the ground, it’s best practice to ensure they are positioned to receive constant sunlight and positioned in the ground at a depth two or three times as long as the bulb’s height. Finally, always make sure to plant bulbs pointed-side up.
Sow cover crops
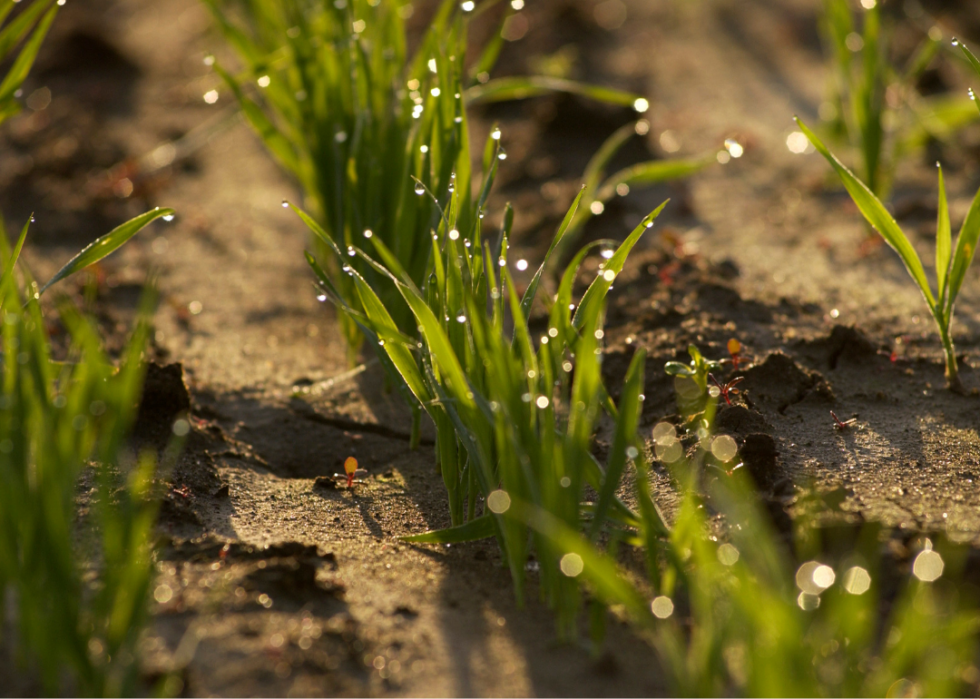
Cover cropping is a process by which temporary plants are installed during winter or between garden growth seasons. Doing so can ensure a steady supply of nutrients, moisture, pest control, mulch, and other benefits to a developing garden. Typically, cover crops consist of plants selected for their rapid growth in the given season, including green manure, buckwheat, or beans in the spring, and ryegrass or oats in the summer. A gardener need not worry about removing the cover crops once the main plants have begun growing again, as the cover will naturally turn into mulch or manure, providing continued protection. Cover cropping is an all-natural, environmentally responsible way to shield a garden from harsh temperatures and conditions.
Prepare new beds
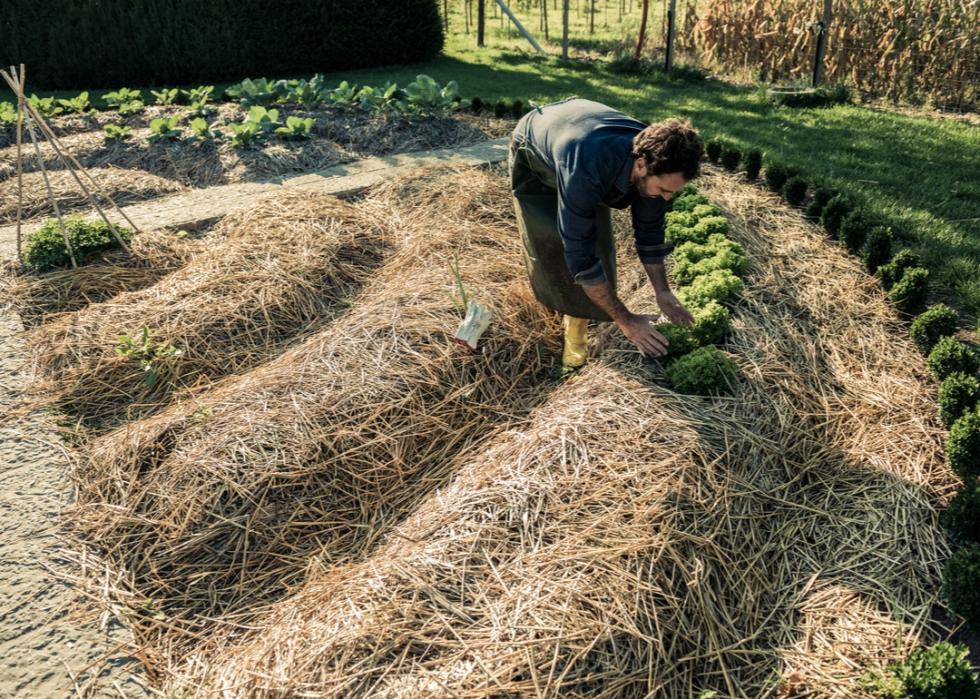
Preparing soil for planting is a critical step in ensuring the success of one’s garden—without proper attention, it will be difficult for seeds to thrive weeks down the line. First, one should ensure the chosen area is clear of irrigation or utility lines that may not be immediately noticeable. Dead vegetation should then be cleared out, and soil should be flipped over section by section, at a depth of 12–18 inches. Soil should be damp, but not overly wet, during this process, and mixed with nutrient-filled compost immediately after. Finally, place a 3- to 4-inch layer of mulch and another layer of compost on top to deter weeds.
Prune trees and shrubs that bloom on old growth
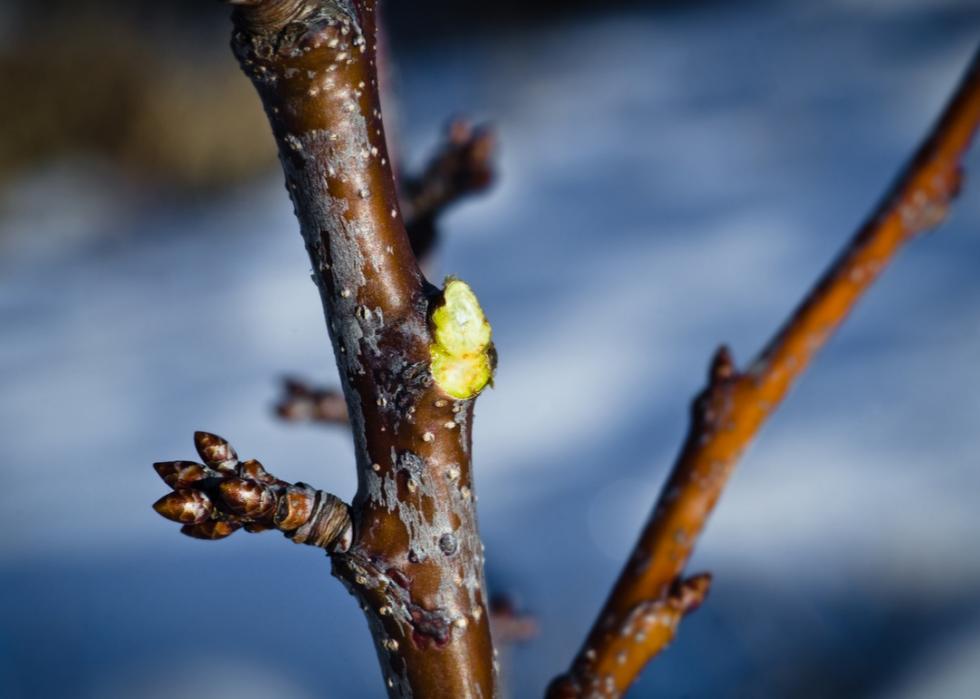
Ensuring that a fresh bed stays clean and ready to host new bulbs means clearing away existing vegetation that has grown on old plants. Trees, bushes, and any wood-based vegetation should be pruned with clippers. Neglecting to do so can invite insects and ensuing diseases to take hold. One should first remove stems that are clearly dead or sick, along with branches that cross. Shoots growing on trunks, branches, or the nearby ground should also be cut away.
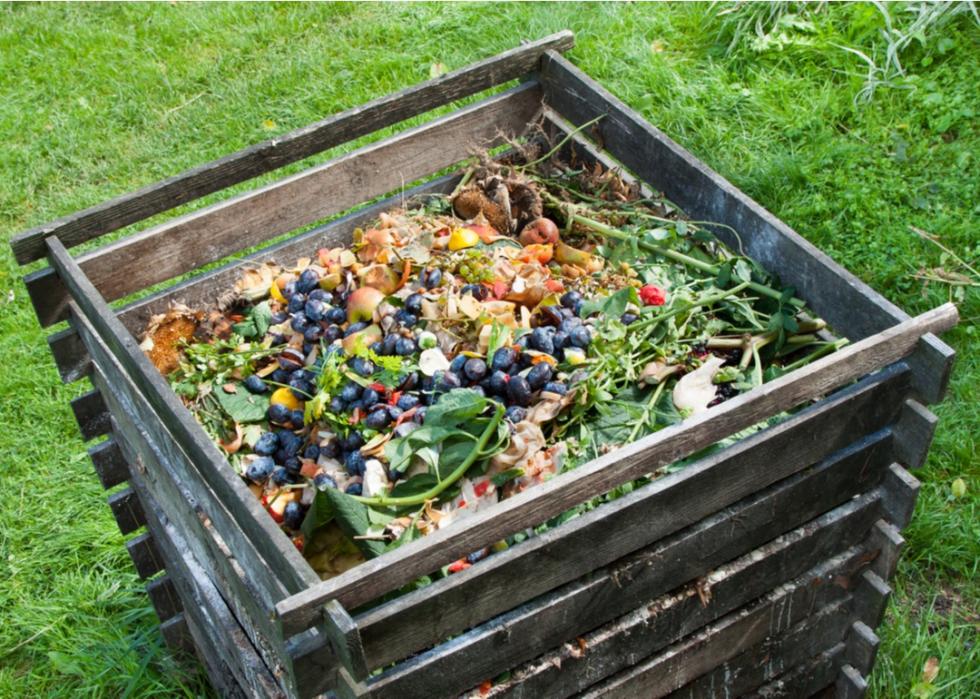
Keep composting
Composting can be done year-round in gardens of nearly every size (save for unusually small plots). That said, late summer and throughout autumn may be the best time for first-timers to build their compost bin, as temperature, rainfall, and sunlight are more likely to be consistent during those periods. Once you’ve acquired a designated compost bin, position it in a semi-shaded or totally shaded corner of the garden. It is best to fill the base of the bin with earth, with one-fourth to one-half of the remaining space taken up by soft greens such as grass, weeds, and vegetables, and the rest with wood-based materials such as leaves, wood, and cardboard. Doing so will provide bacteria and microorganisms the conditions they need to break down the materials over the course of the next six to 24 months.
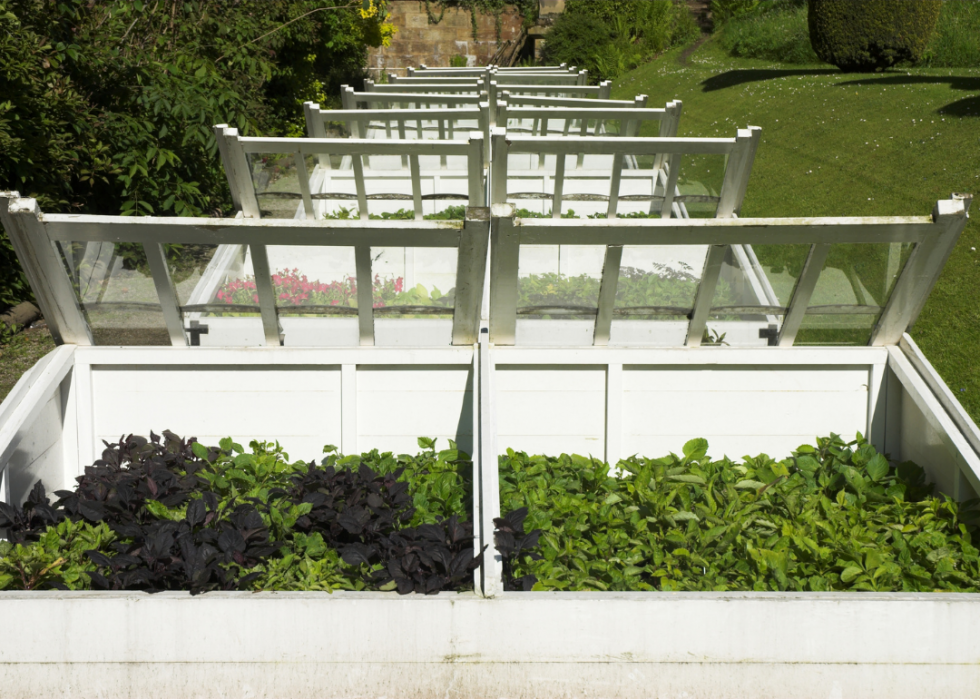
Install cold frames to extend your growing season
Cold frames are low-lying wall and roof structures built over plants to protect them during harsh weather and conditions. They most commonly have clear sides to allow sunlight in and liftable lids that simultaneously protect plants from rain and snow while allowing adequate ventilation. Using a cold frame can be a cost- and space-effective alternative to a greenhouse. In addition to protecting sensitive plants in the autumn and winter, they can also be employed in spring and summer to shield young and vulnerable crops, like tomatoes and eggplants. Since cold frames can help retain heat, this can lengthen growing and harvesting periods, allowing certain crops to be harvested slightly early or late.
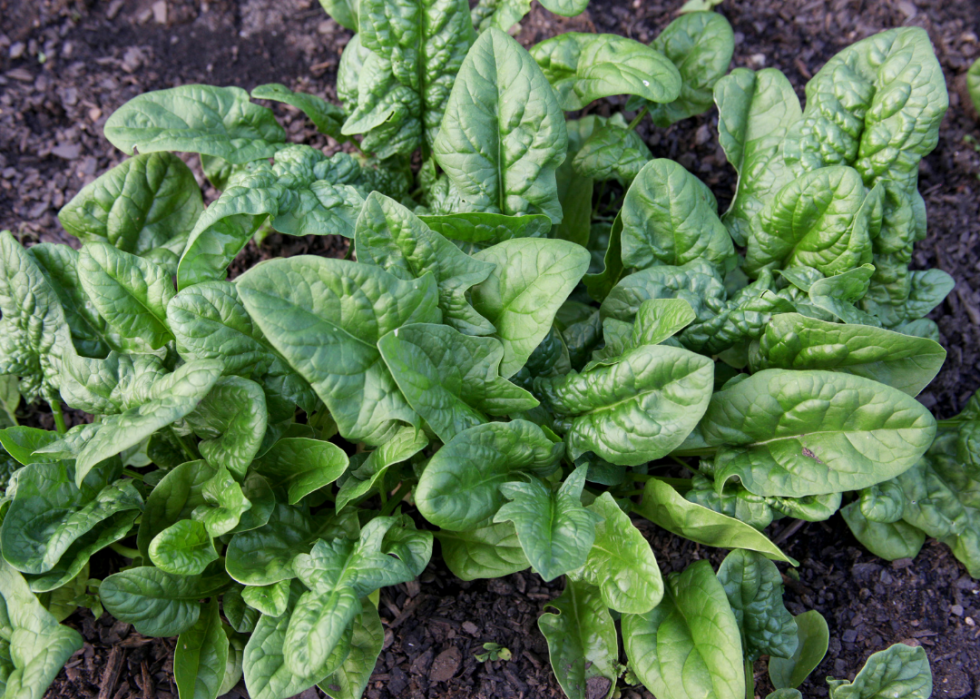
Start cold-hardy produce like onions and spinach just ahead of first frost
Although the first frost of the year may signal doom for many warm-weather plants, certain species are poised to thrive in the cold. In these cases, timing planting to just the right moment can get root vegetables like beets, carrots, and other crops off to a strong start. You can estimate when the first frost of the year will hit your area by entering your ZIP code into an online estimator or via local weather reports. If possible, plant hardy species a month or two before the first frost, or when temperatures first drop below freezing.


